Products
Solutions
Resources
9977 N 90th Street, Suite 250 Scottsdale, AZ 85258 | 1-800-637-7496
© 2024 InEight, Inc. All Rights Reserved | Privacy Statement | Terms of Service | Cookie Policy | Do not sell/share my information

You can create a saved view of your page so that you can always revert to it. This saved view is called a viewset.
Select the View drop-down arrow to save your current view.
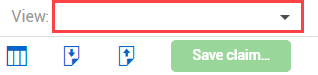
Select Save current viewset as from the viewset drop-down list.

In the dialog box, type a name.
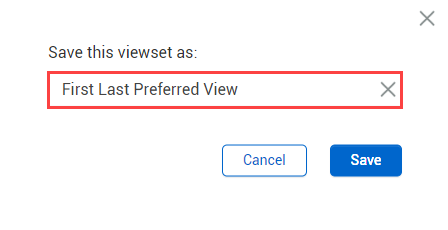
Click Save.
When making changes to the quantity tracking layout, you will see an unsaved view option in the view menu. This lets you know changes have not been saved.

Each viewset is user-specific.
Certain permissions are needed to send viewsets to roles.
You can send views to all users that have a certain role. You can also send it to specific projects or full organizations. To send to a project, you must be a user on that project or in that organization.
Open the viewset you want to share.
Open the View drop-down list, and then select Send current view.
Select Users or Projects from the drop-down list, and then search by user name or project. You can add multiple users and projects.
When you share a view with another project, any project-specific fields are not shown in the receiving project. You can select the Share view as global template option.
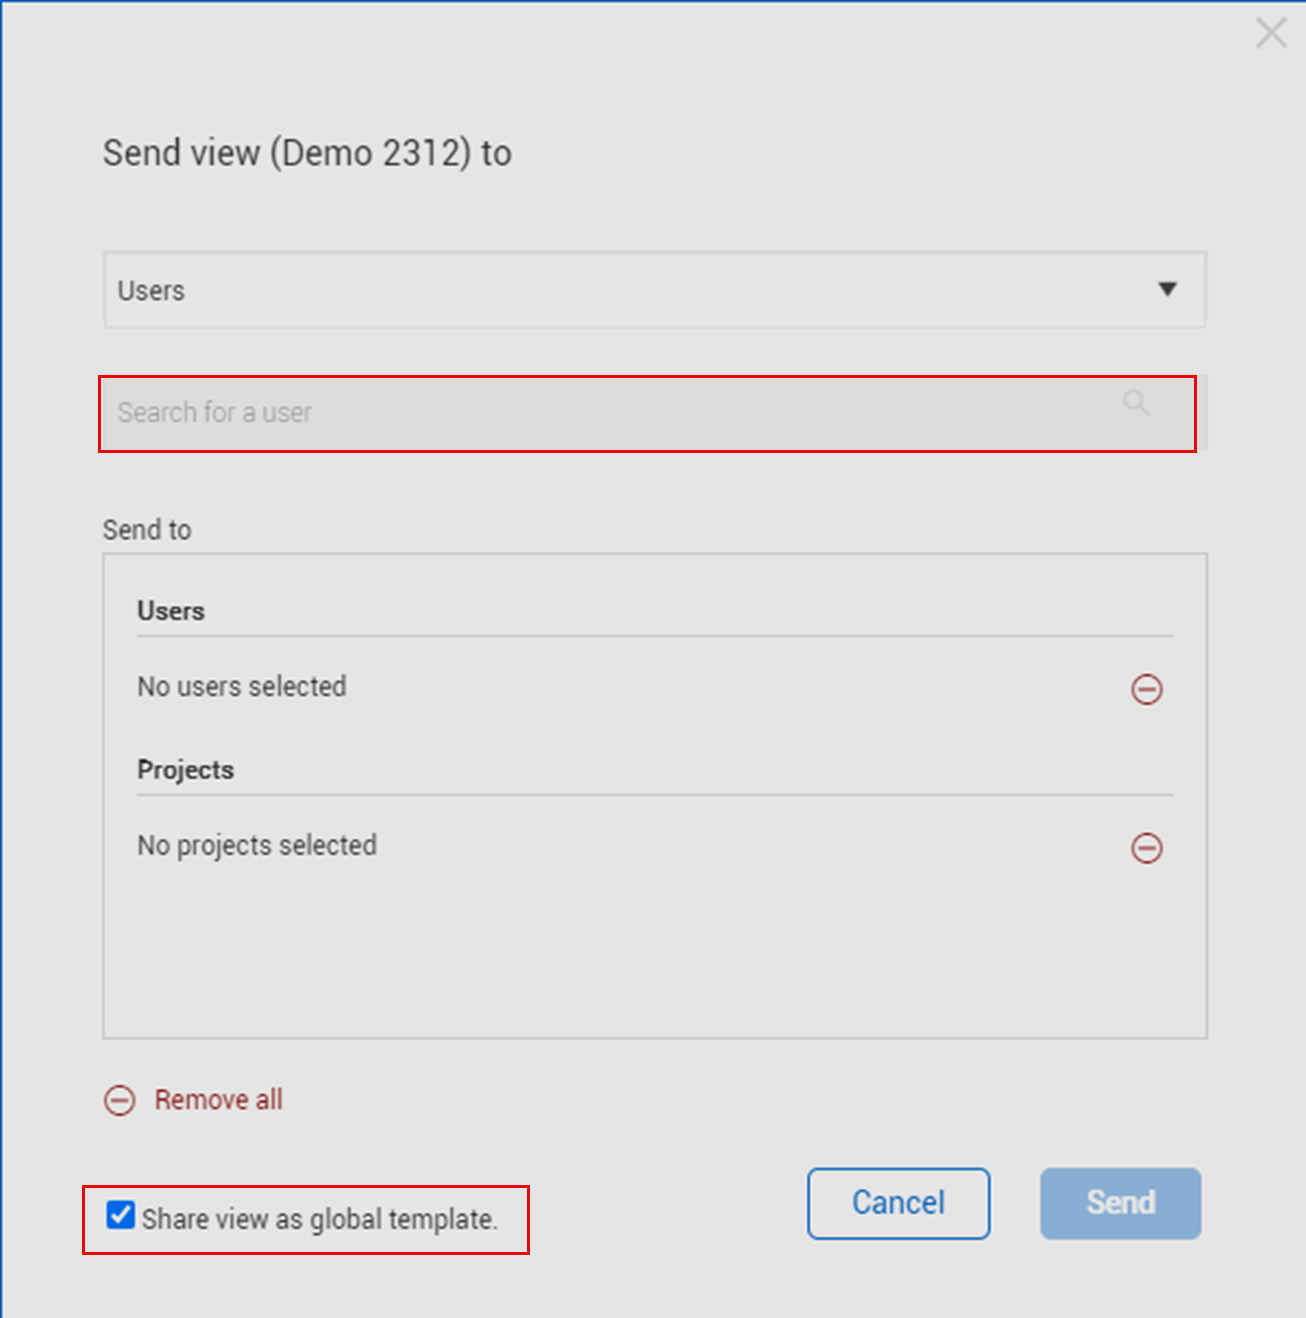
Click Send. A notification is sent to the selected users and the viewset is available in their drop-down list, along with the sender’s name and the date when the viewset was sent.
Delete a viewset by selecting the delete icon in the drop-down list directly in the viewset.
Open the View drop-down list, and then select the Delete icon.

Select Yes to delete the viewset.

Additional Information
9977 N 90th Street, Suite 250 Scottsdale, AZ 85258 | 1-800-637-7496
© 2024 InEight, Inc. All Rights Reserved | Privacy Statement | Terms of Service | Cookie Policy | Do not sell/share my information